Inland Spill Response: Cold Weather
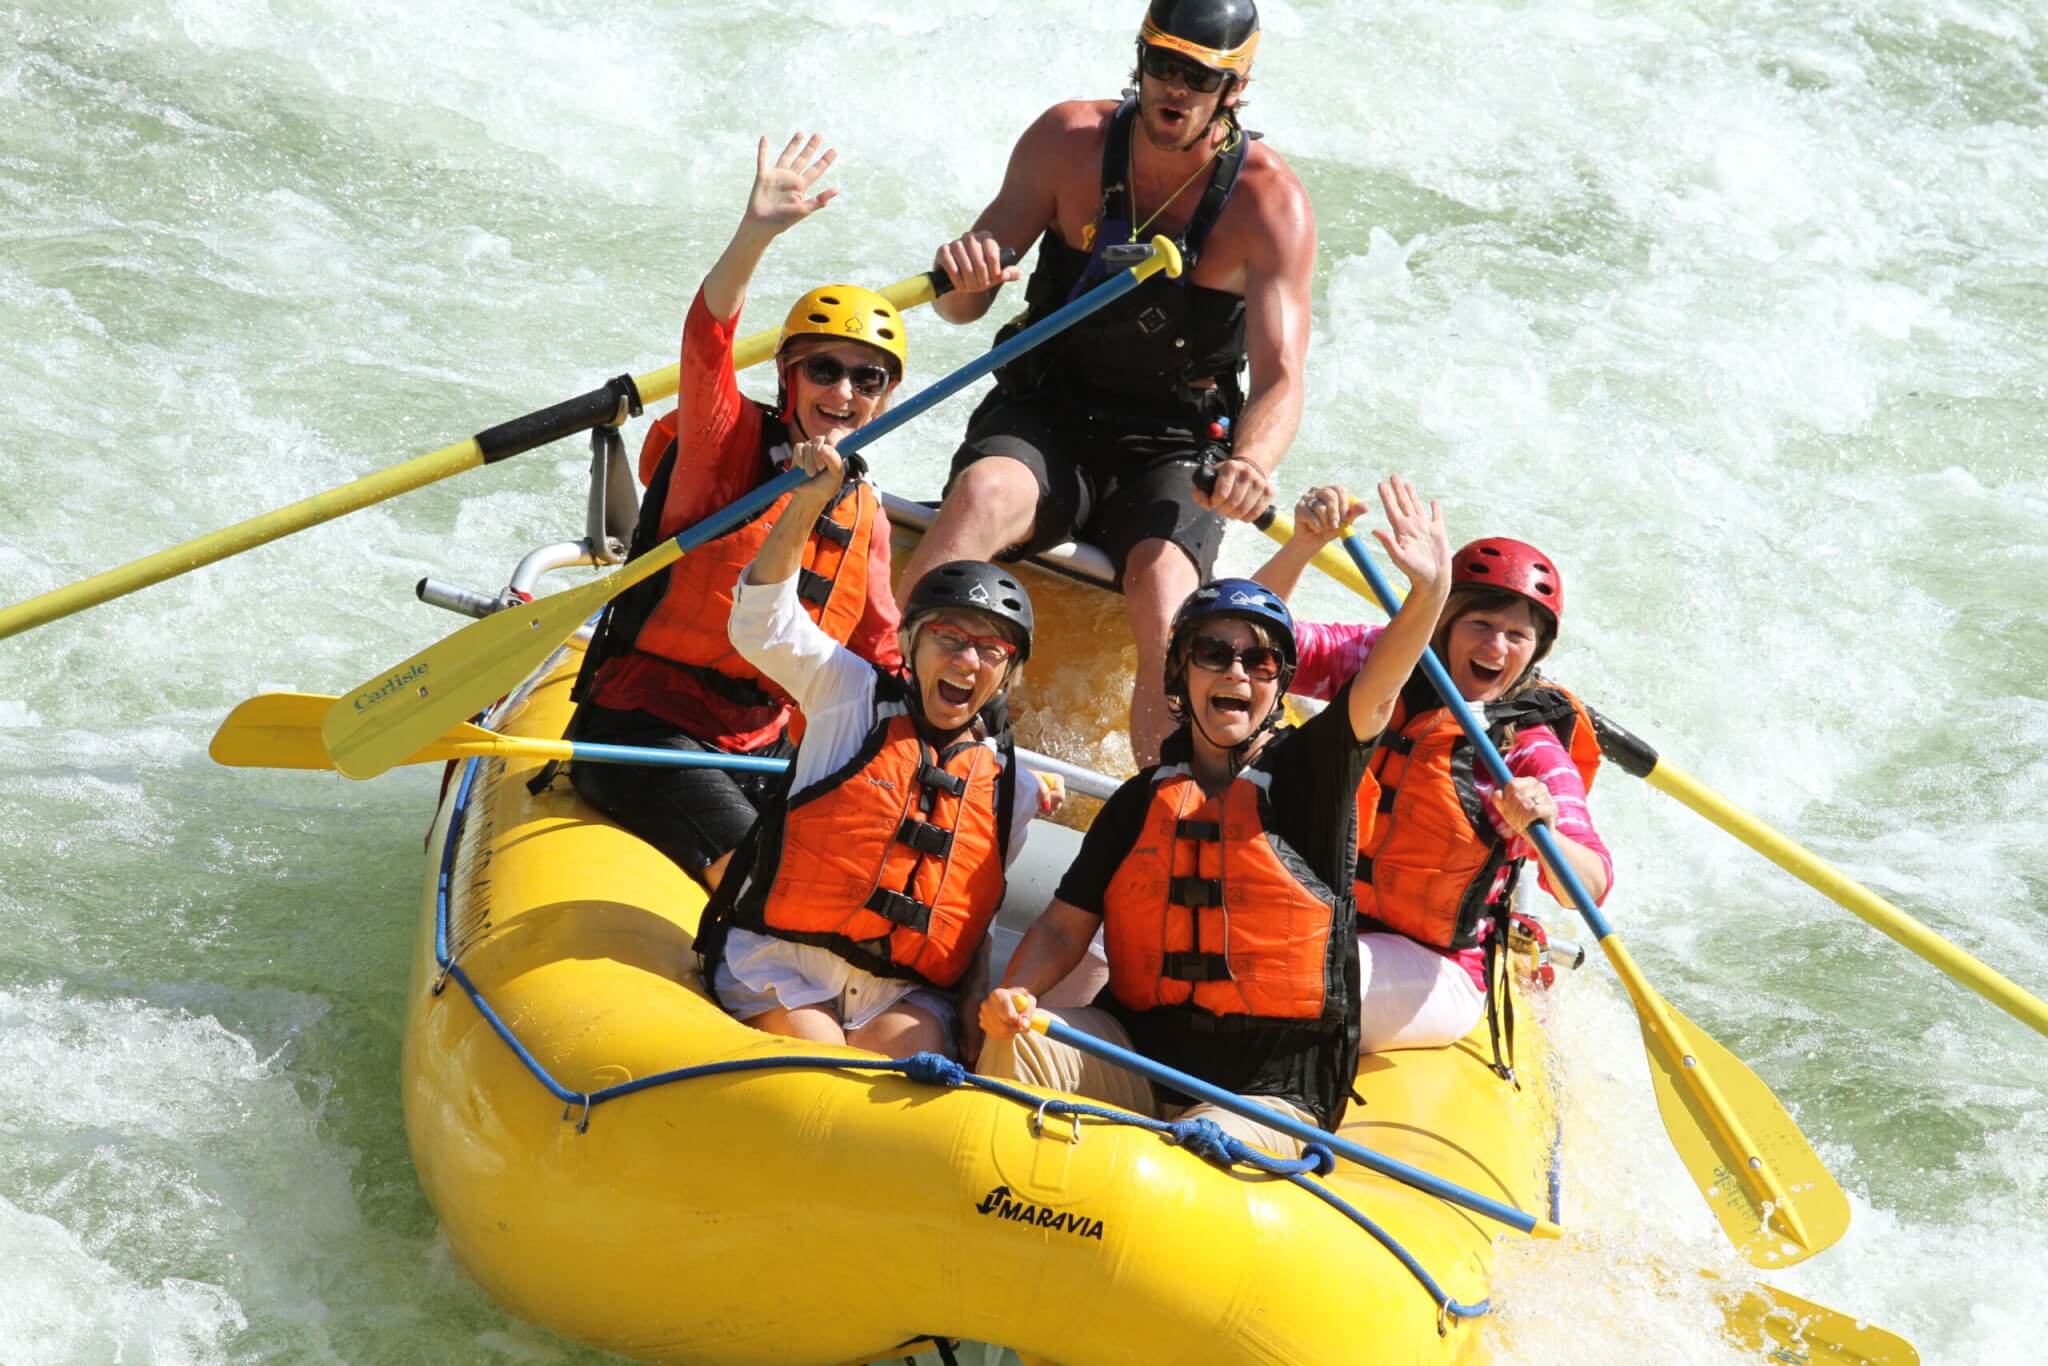
Fastwater Spill Response in Winter
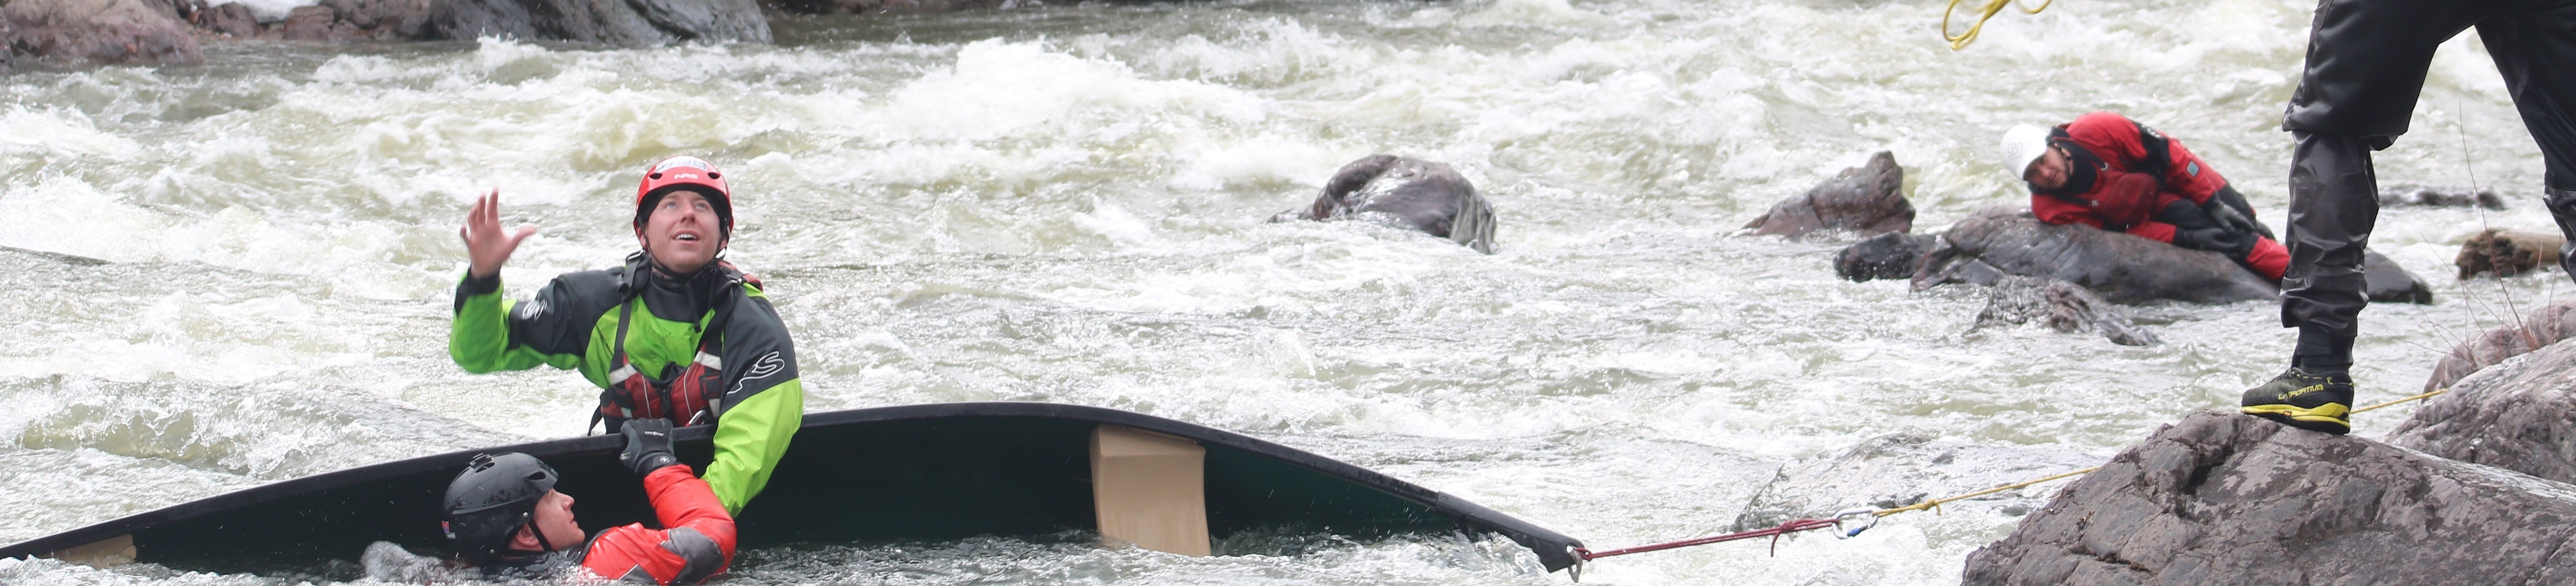
Inland spill response in cold weather is difficult and risky. Responding to oil spills along rivers in winter requires additional risk management and emphasis on standard operating procedures for all responders on site. Obviously we try to work off ice whenever possible. Several spills in the past two years have required us to work on ice over bodies of water and even rivers. Moving water under ice is one of the most unforgiving and dangerous environments for responders. The work on river ice is much more dangerous than working on lake ice simply because the water is moving underneath the ice. A responder breaking through the ice on a river with current is in a life treating situation. Every precaution measure must be taken to prevent a break through from happening. Responders must stay off ice until a complete assessment and safety plan have been established and reviewed.
River Ice Initial Size Up
Size up should include:
1. Assessment of current speed
2. Assessment of river depth
3. Thorough ice assessment/ Thickness. Quality. Consistency.
4.Calculate Ice Strength
Calculating Ice Strength: One simple formula to estimate ice strength is P=50 x T2 (Or Ice Capacity = 50 multiplied by the thickness squared. For example 4″ of lake ice squared would equal 800 lbs of load bearing capacity. Compare this to some guidelines for ice clear/lake ice such as :
2 Inches or less: STAY OFF!
4 inches: Ice Fishing or Skating
5-6 Inches : Snowmobile/ATV’s
7-8 Inches: One Medium Truck
Remember to reduce river ice strength estimates by 15% for current and up to an additional 50 % for snow ice.
Procedure for River Ice Assessment: You can’t judge the strength of ice just by its appearance or age, or thickness or air temperature, or whether or not the ice is covered with snow. Strength is based on all these factors — plus the depth of water under the ice, size of the water body, water chemistry and currents, the distribution of the load on the ice, and local climatic conditions. Establish an Initial Safety Plan before drilling assessment holes . An ice rescue instructor should supervise the initial approach for drilling assessment slots/holes. Start along shore and drill series of test holes throughout response zone progressively working outward from shore, recording thickness, quality of ice. Responders should be belayed, operate from an airboat or consider using 4 by 8 sheets of plywood to distribute weight when drilling assessment holes. Consider having a inflatable positioned nearby for safety along with belayer.
TYPES OF ICE:
Lake: Clear and possibly reflective. Forms after quick drops in temperature. The strongest ice.
Frazil: Slush, disk shaped thin ice on surface. Early Phase of ice.
Candled: Whitish gray with deterioration. Can be thick but is weak.
Snow Ice: Opaque or milky. Occurs when snow freezes on a sheet of ice. Very weak.
Anchor Ice: Forms on submerged objects. In rivers this ice can create ice jams
Ice Color and Characteristics:
-
-
- “Light gray to dark black – Melting ice, occurs even if air temperature is below 32°F (0°C). Not safe, its weak density can’t hold a load, stay off.
- White to Opaque – Water-saturated snow freezes on top of ice forming another thin ice layer. Most times it’s weak due to being porous from air pockets.
- Blue to Clear – High density, very strong, safest ice to be on if thick enough, stay off if less than 4 inches (10 cm) thick.
- Mottled and slushy or “rotten” ice – not so much its color but its texture. This ice is thawing and slushy. It is deceptive – it may seem thick at the top but it is rotting away at the center and base. Not suitable for even a footstep.
-
RIVER ICE: Rivers have several hazards and conditions that weaken ice that are not common on lakes.
- Stream inlets of all types should be regarded as potential problem areas.
- Bridges over rivers often have thinner ice or open water near them.
- High gradient streams can put deltas into the side of the river that divert flow and are especially likely to create open/thin areas (see below).
- Changing water levels can create a puddle along the edge when the water level rises. When the water level drops, shore ice may be suspended in the air (and is likely to be weak without the underlying water).
- Outside bends tend to have more problem areas. In general, the ice over the channel tends to be thinner and to melt first.
- Any area where the elevation gradient picks up is likely to be thinner or open as a result of the faster current.
- Industrial/power plant out flows of warmer water can create open/thin areas.
- Shipping traffic on bigger rivers.
- Reefs, sand bars and deltas are potential areas of thin ice.
- Impounded rivers are, in general, less hazardous than free running rivers.
PPE for River Ice Assessment: Drysuit, helmet, PFD, boots, gloves, appropriate ear, eye and saw protection, ice awls for self rescue, ice cleats.
Operations: Once the size up is complete procedures should be set up to minimize first responders on ice. Improve walking access, and consider installing anti-slip measures to and from site and on riverbank. Use plywood sheets to help weight distribution when possible. Always belay responders on ice when necessary. Consider cutting downstream rescue slot if there is no open water down stream. Unstable conditions may require rescuers to operate from boat platforms. Consider positioning belayers upstream and using inflatable or boat platforms to position belayers. Once slots or holes are cut in ice cordon off and/or mark with protective fencing. Use the buddy system so workers always have someone close by for assistance. Responders are going to need extra sets of boots and gloves available in case they get gear wet. Monitor weather forecasts and periodically reevaluate weather and ice for changes in conditions.
EQUIPMENT: Drysuits,Rescue PFD’s, Augers,Chainsaws,Belay Lines, Rafts/BoatsAirboats, Cleats, Awls, Ice Poles, Throwbags, Shovels, Pry Bars.
FIRST AID / Warming Tent: Set up a warming tent/hut as soon as possible withHypothermia-Wraps, EMS Kit, AED, O2, Portable Heaters, Cots, Xtra PPE and Warm Clothing.
The Site Safety Should Include : Communications Plan, Ice Assessment and Ops Plan, Assessment of Hazards, EMS, and Evac Plan.
Ice Self-Rescue Technique: What should you do if you fall through the ice? Put your arms out to the side to prevent submersion. First, try not to panic. This may be easier said than done, unless you have worked out a survival plan in advance.
- Don’t remove your winter clothing. Heavy clothes won’t drag you down, but instead can trap air to provide warmth and flotation. This is especially true with a snowmobile suit.
- Turn toward the direction you came. That’s probably the strongest ice.
- Place your hands and arms on the unbroken surface. This is where a pair of nails, sharpened screwdrivers or ice picks come in handy in providing the extra traction you need to pull yourself up onto the ice.
- Kick your feet and dig in your ice picks to work your way back onto the solid ice. If your clothes have trapped a lot of water, you may have to lift yourself partially out of the water on your elbows to let the water drain before starting forward.
- Lie flat on the ice once you are out and roll away from the hole to keep your weight spread out. This may help prevent you from breaking through again.
- Get to a warm, dry, sheltered area and re-warm yourself immediately. In moderate to severe cases of cold water hypothermia, you must seek medical attention. Cold blood trapped in your extremities can come rushing back to your heart after you begin to re-warm. The shock of the chilled blood may cause ventricular fibrillation leading to a heart attack and death!
WIND CHILL
The Wind Chill Temperature Index is a “measure of the combined cooling effect of wind and temperature.How cold it “feels” is not just about the temperature. It’s also about wind speed. As the wind speed increases, the body is cooled at a faster rate causing the skin temperature to drop. If you combine freezing temperatures with a frigid wind, the danger of frostbite and hypothermia increases. In northern climates, it’s not uncommon to hear wind chill warnings where exposed flesh can freeze in less than a minute.
- Wind chill actually causes your body tissue to freeze! Frostbite is body tissue that has frozen and usually starts with the fingers, toes, tips of the nose, and ear lobes. If you lose feeling in these area or they are turning pale or white, immediately get inside and get medical attention.
- Hypothermia happens when your body’s temperature drops too low; uncontrollable shivering, disorientation, and incoherence are signs of this issue and medical attention should be found immediately. In both cases, take care to rewarm the body very slowly.
|
Wind |
Temperature (°F) | ||||||||||||||
|---|---|---|---|---|---|---|---|---|---|---|---|---|---|---|---|
| Calm | 35 | 30 | 25 | 20 | 15 | 10 | 5 | 0 | -5 | -10 | -15 | -20 | -25 | -30 | -35 |
| 5 | 31 | 25 | 19 | 13 | 7 | 1 | -5 | -11 | -16 | -22 | -28 | -34 | -40 | -46 | -52 |
| 10 | 27 | 21 | 15 | 9 | 3 | -4 | -10 | -16 | -22 | -28 | -35 | -41 | -47 | -53 | -59 |
| 15 | 25 | 19 | 13 | 6 | 0 | -7 | -13 | -19 | -26 | -32 | -39 | -45 | -51 | -58 | -64 |
| 20 | 24 | 17 | 11 | 4 | -2 | -9 | -15 | -22 | -29 | -35 | -42 | -48 | -55 | -61 | -68 |
| 25 | 23 | 16 | 9 | 3 | -4 | -11 | -17 | -24 | -31 | -37 | -44 | -51 | -58 | -64 | -71 |
| 30 | 22 | 15 | 8 | 1 | -5 | -12 | -19 | -26 | -33 | -39 | -46 | -53 | -60 | -67 | -73 |
| 35 | 21 | 14 | 7 | 0 | -7 | -14 | -21 | -27 | -34 | -41 | -48 | -55 | -62 | -69 | -76 |
| 40 | 20 | 13 | 6 | -1 | -8 | -15 | -22 | -29 | -36 | -43 | -50 | -57 | -64 | -71 | -78 |
| 45 | 19 | 12 | 5 | -2 | -9 | -16 | -23 | -30 | -37 | -44 | -51 | -58 | -65 | -72 | -79 |
| 50 | 19 | 12 | 4 | -3 | -10 | -17 | -24 | -31 | -38 | -45 | -52 | -60 | -67 | -74 | -81 |
| 55 | 18 | 11 | 4 | -3 | -11 | -18 | -25 | -32 | -39 | -46 | -54 | -61 | -68 | -75 | -82 |
| 60 | 17 | 10 | 3 | -4 | -11 | -19 | -26 | -33 | -40 | -48 | -55 | -62 | -69 | -76 | -84 |
| Frostbite occurs in: | 30 minutes | 10 minutes | 5 minutes |
Example: when the temperature is 15°F and the wind speed is 30 miles per hour, the windchill, or how cold it feels, is -5°F.
WINDCHILL SAFETY TIPS: Be smart about wind chill!
- Listen to the weather station. Wind Chill Warnings are issued when wind chill temperatures are life threatening. Wind Chill Advisories are issued when wind chill temperatures are potentially hazardous.
- When there is low wind chill, cover your exposed flesh, especially your face and hands! Consider a balaclava to cover your mouth and protect your lungs. Mittens are better than gloves.
- Wear layers of loose-fitting, warm clothing as the layers will trap air and provide insulation. Your outer shell should be water-repellent and hooded.
- Always wear a hat.